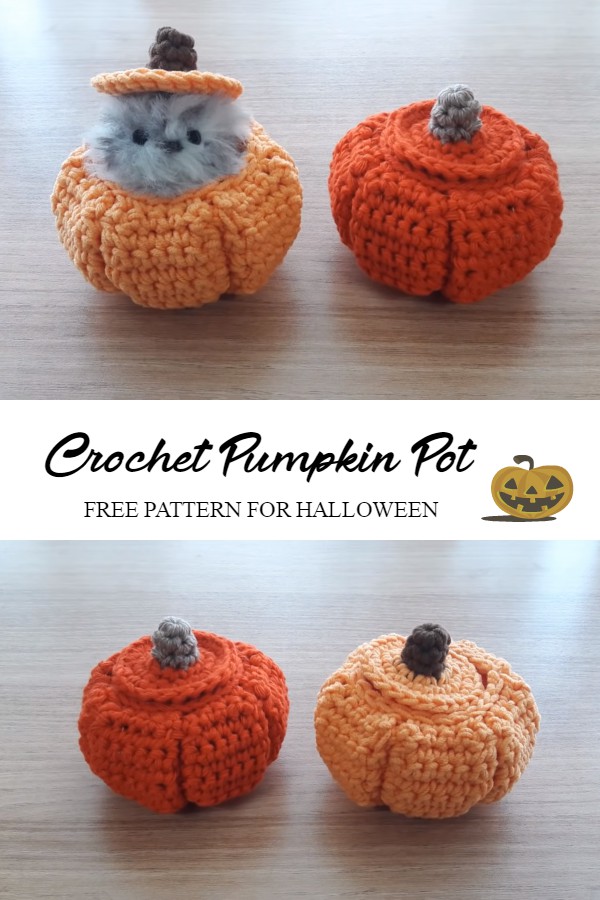
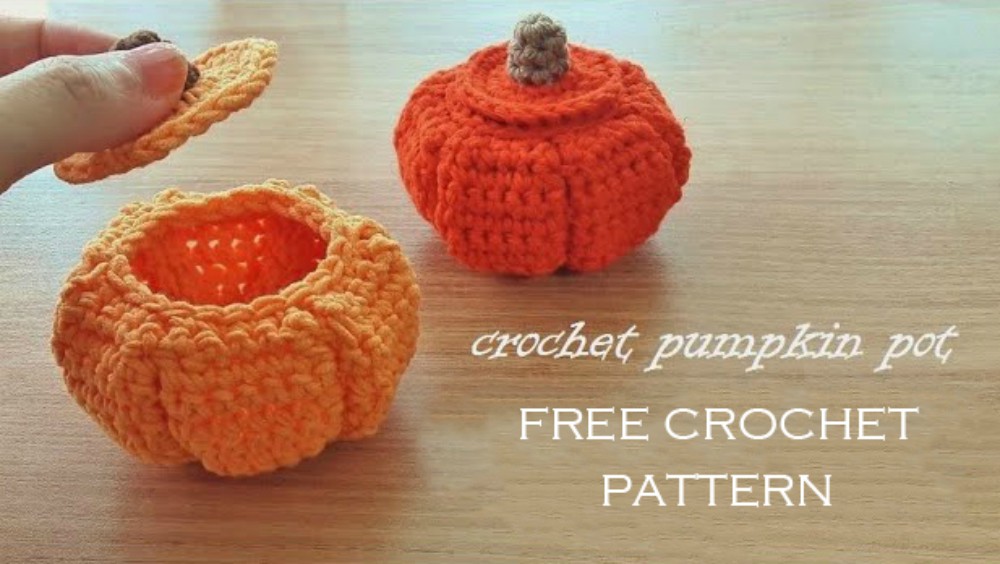
Crochet Pumpkin Pot Pattern For Halloween
Halloween crochet is always a special experience especially with this kind of cute crochet pumpkin pot pattern. These lovely little pumpkin pots would make some perfect little accessories for an upcoming holiday. You can put some sweets or candies in them and set them out all over your house. They could also be a good decoration for plants or Halloween toys as well.
This is a fresh new pumpkin pot crochet pattern so I hope you will love it as much as I did. Enjoy yourself and please, always feel free to share your opinion and ideas with us and other crochet lovers. Good luck and happy holidays.
You may also like this Halloween Crochet Pumpkin Tutorial

Supplies You Will Need:
1 – Sweet & Soft Honey Yarn 45g
2 – Crochet Hook Size 3.5 mm
3 – Tapestry Needle
4 – Scissors
Pumpkin Pot Pattern:
Row 1: ch2, sc1. ch1, turn over, sc2.
Row 2: ch1, turn over, sc2 in the first st, sc2 in the next st.
Row 3: ch1, turn over, sc2 in the first st, sc1 in each 2 stitches, sc2 in the last stitch.
Row 4: ch1, turn over, sc2 in the 1st st, sc1 in each 4 stitches, sc2 in the last stitch.
Row 5: ch1, turn over, sc1 in each – all stitches ( 8st )
Row 6: ch1, turn over, sc1 in each stitch ( 8st )
Row 7 to 9: same work ( 8st )
Row 10: ch1, turn over, sc2tog, sc1 in each 4 stitches, sc2tog.
Row 11: ch1, turn over, sc2tog, sc1 in each 2 stitches, sc2tog,
Row 12: ch1, sl st, sl st in each row.

Make the same part 6 times and join them without cutting.
Join the 1st part with the end of 6th part.
In the 1st stitch of the last row: ch1, sc in the same stitch; sc in each stitch; sl st in the first sc; sl st in the next stitch; sl st in each stitch; sl st in the first stitch;

Pumpkin Pot Lid Pattern:
Row 1: Make a magic ring. ch1, sc6 in the ring, sl st in the first sc.
Row 2: ch1, sc1 in each stitch, sl st in the first stitch.
Row 3: ch1, sc1 in each stitch, sl st in the first stitch.
Row 4: ch1, sc2 in each – all stitches, sl st in the first stitch.
Row 5: ch1, sc1 in the first stitch, sc2 in the next stitch, repeat same work ( sc1, sc2 ) 18 stitches, sl st in the first stitch.
Row 6: ch1, sc1 in the first stitch, sc2 in the next stitch, sc1 in the next stitch, repeat ( sc1. sc2. sc1 ) sl st, cut the end.
Video tutorial by Amia Mikancl Crochet

