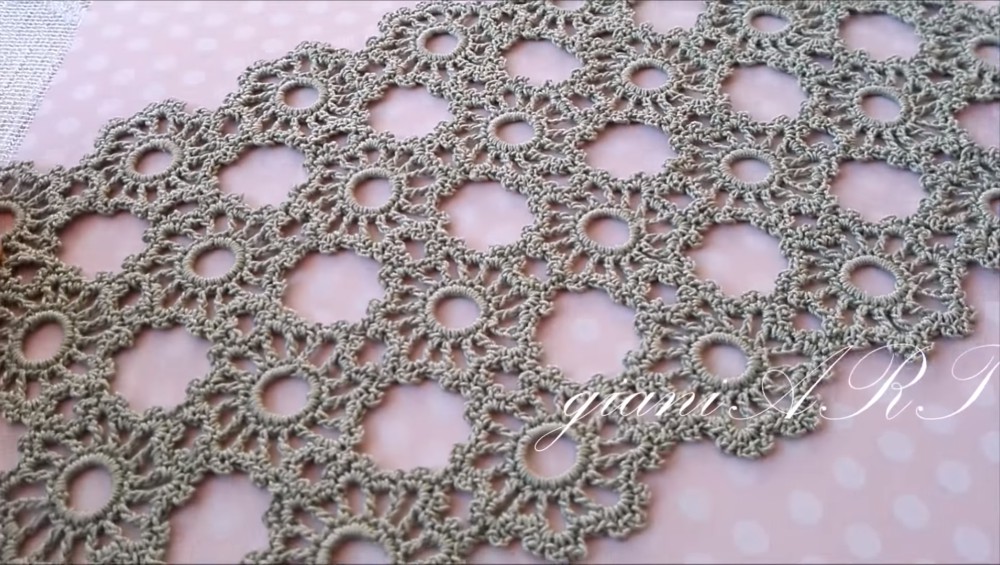
How To Crochet and Join Small Round Motifs
Let’s learn how to crochet and join these lovely round motifs using a free crochet pattern with step by step video tutorial. This pattern would make some alluring and useful tablecloth, table runner, blanket, curtains, pillow case and many other projects… That all about your imagination and creativity.
Crochet motif patterns are one of those basic crochet techniques each and every crochet lover should master. That’s why I love them some much!
While some crochet motif patterns may seem a little challenging to make, these simple and useful round motifs are quite easy to stitch up even for some absolute beginners.
You may also like this Granny Square Crochet Motif Tutorial
This free crochet pattern with step by step photo and video tutorials will guide you through the whole process of making these beautiful round motifs. Enjoy the pattern.
Supplies You Will Need:
♦ Yarn:Gründl 100% Cotton Mercerized, 100 g / 566 m ,size 10
♦Color: nr.123 / pistazie green
♦Crochet Hook 1.5 mm
Crochet Abbreviations:
♦Chain stitch……….ch
♦Slip stitch……….sl st
♦Single crochet……….sc
♦Double crochet……….dc
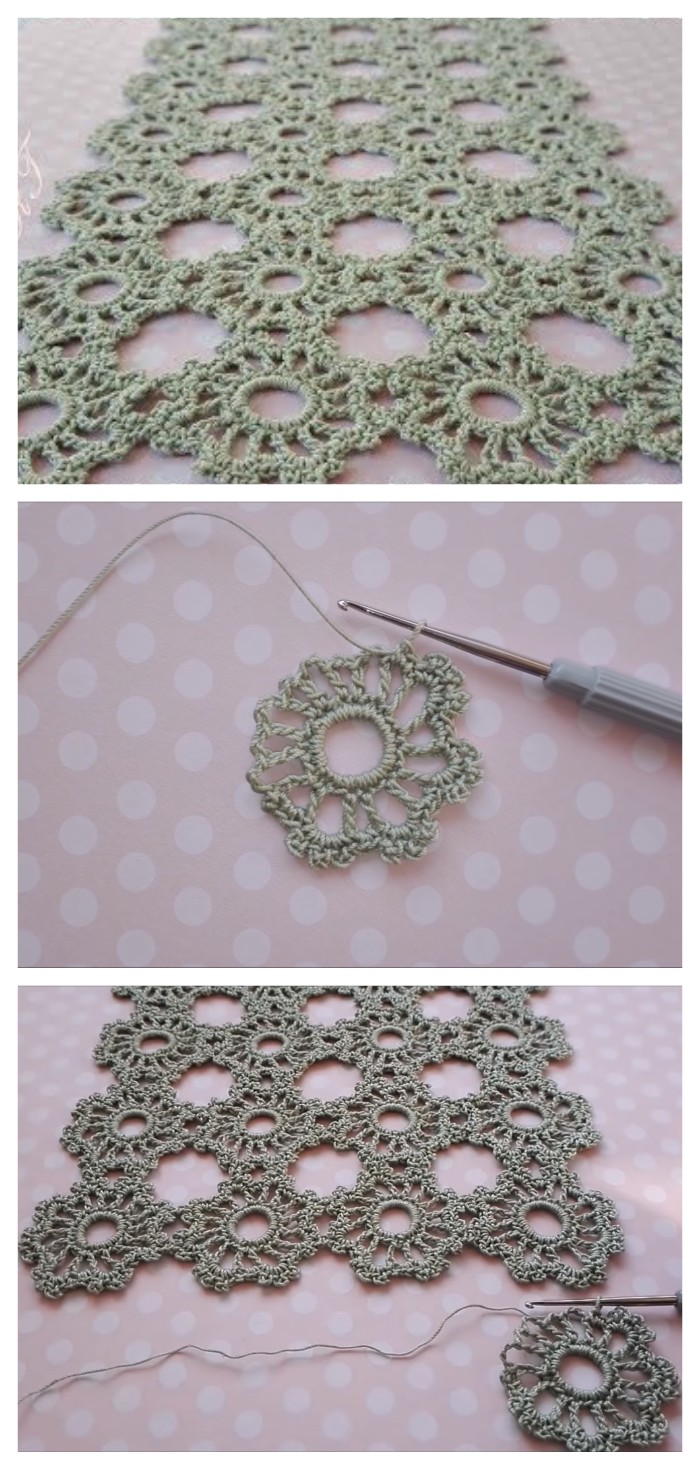
How To Crochet Round Motifs:
Round 1: 12ch, sl st in first chain
Round 2: 2ch, 23sc in magic ring. End with sl st in 2nd chain
Round 3: 5ch, 1dc in the next chain: (3 ch, 1dc in 2nd chain: 2 ch, 1dc in next chain)* Repeat around*
At the end of round 3 – 3 ch, slst in 3rd chain
Round 4: 2ch, 2sc (in next 2 chain loop): In 3 chain loop – (1sc, 3ch, 1sc) (3ch, 1sc) (3ch, 1sc): In 2 chain loop – 2sc
Will be repeated*: ((in 3 chain loop – (1sc, 3ch, 1sc) (3ch, 1sc) (3ch, 1sc) in 2 chain loop: 2sc))*
At the end of round 4 – sl st in 2nd chain, 1ch for hardening
How To Join Round Motifs:
Joining is done (in two points) from round 4 in the chain loops: (1sc, 3ch, 1sc) (1ch, join, 1ch) (1sc, 3ch, 1sc)
2sc, in next 2 chain loop, in the next 3 chain loop: (1sc, 3ch, 1sc) (1ch, join, 1ch) (1sc, 3ch, 1sc)
At the next motif, joins the same way, but in 4 points.
Step by step video tutorial with written instructions by one and only Giani Art